Tektelic KONA Micro Gateway Configuration
Onboarding
This guide walks you through setting up and managing your Tektelic Gateway. Whether you're setting up one device or many, you’ll find everything you need here.
1. Access the Gateway Console
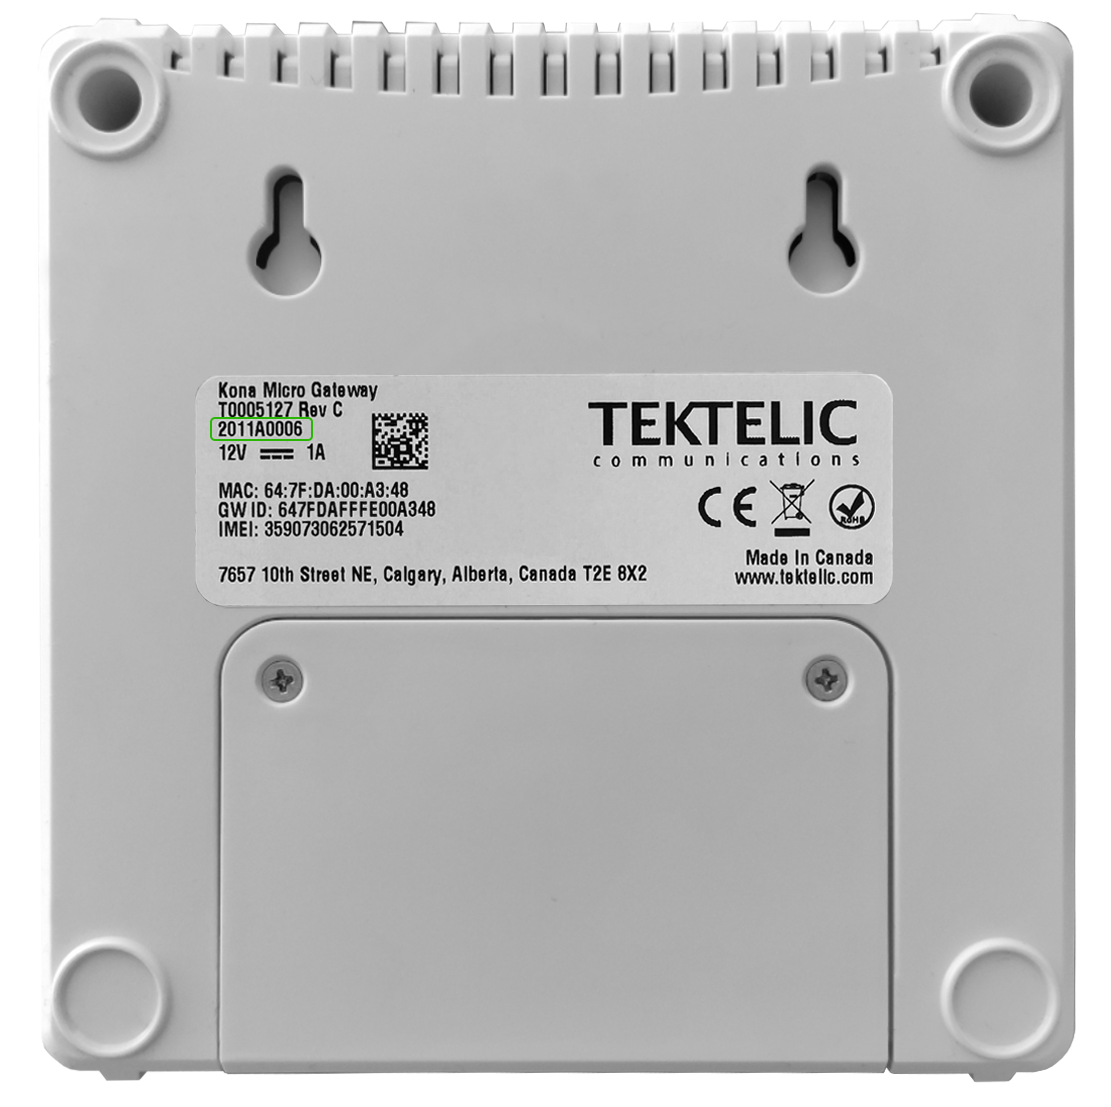
The Tektelic KONA Micro Gateway uses DHCP. Find its IP address using the MAC address printed on the label.
For Serial Numbers 22 and Above
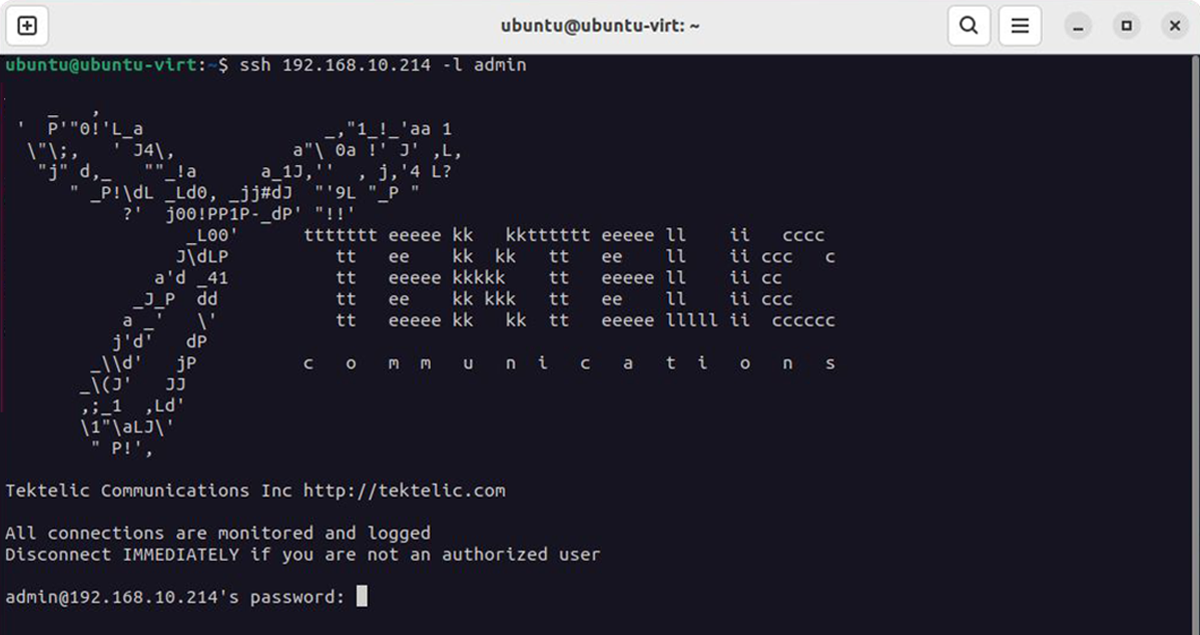
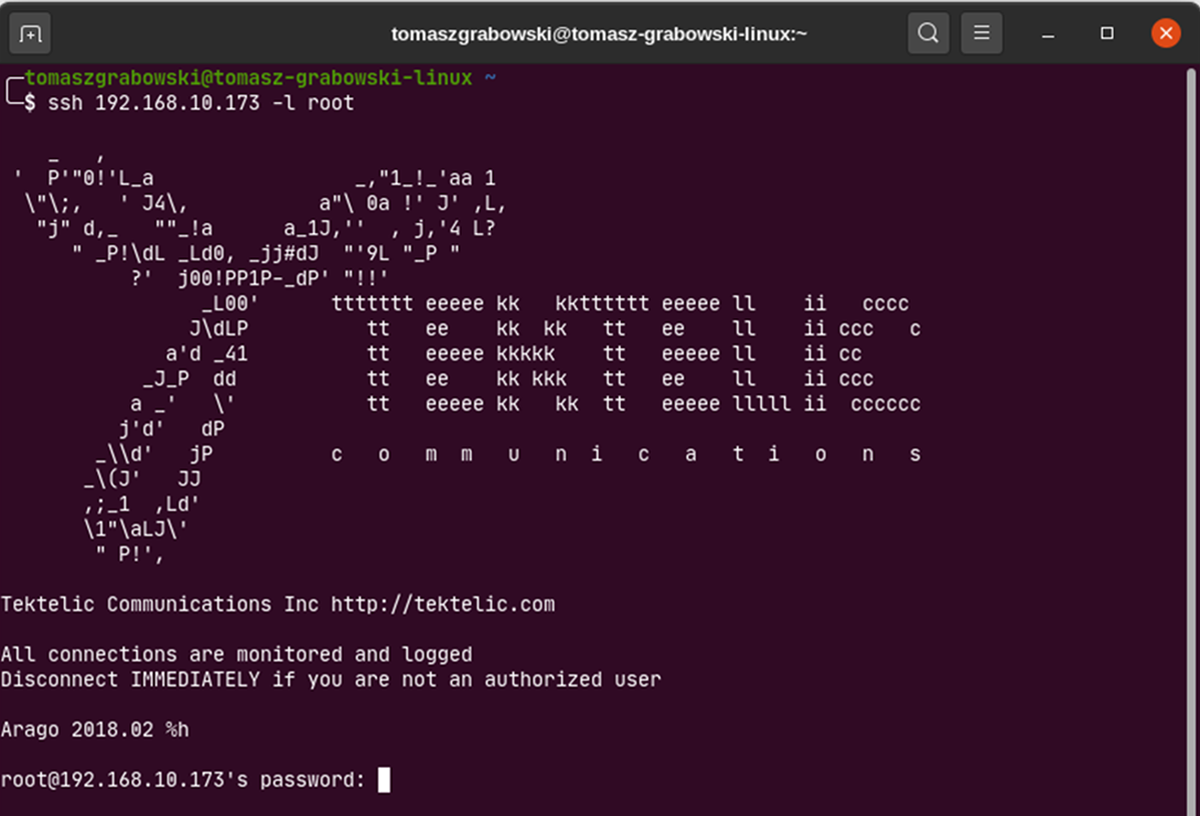
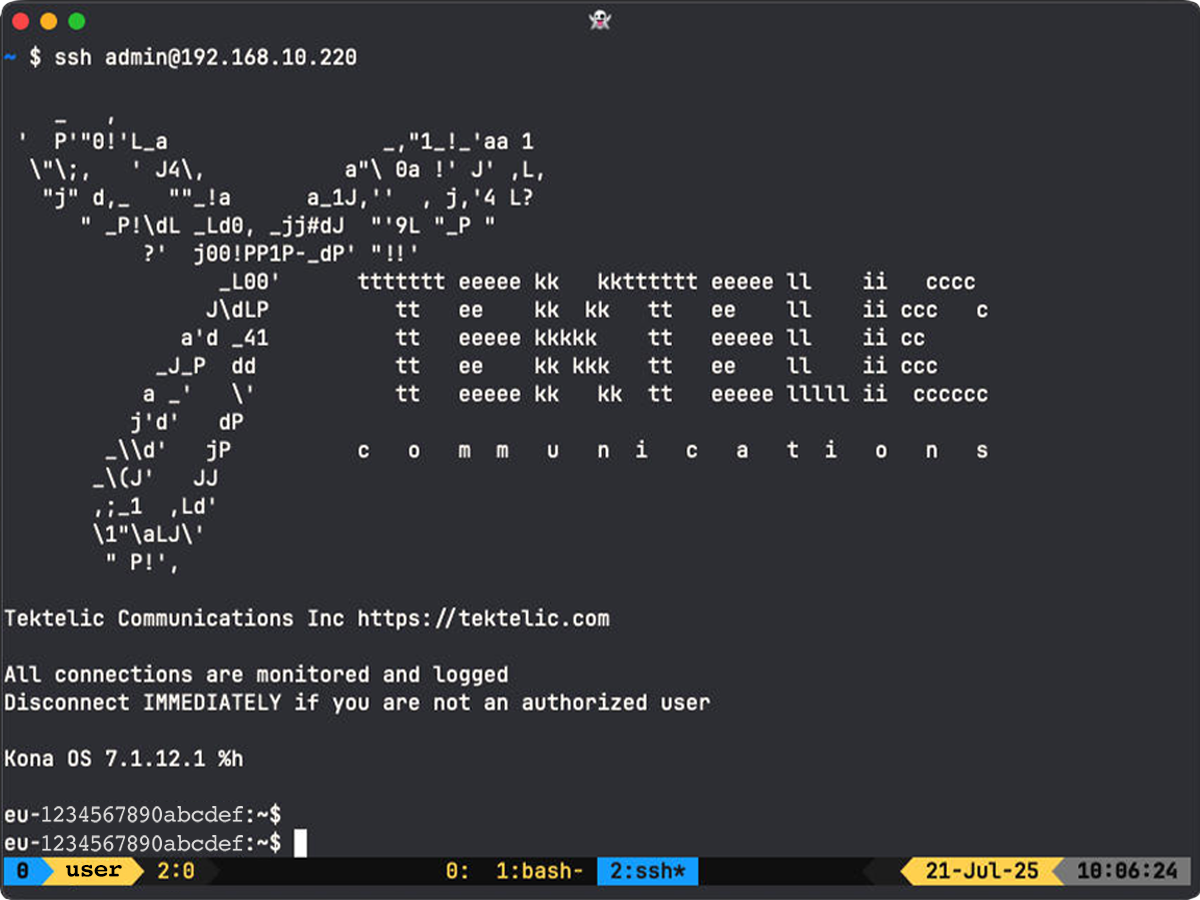
SSH into the gateway using the IP address.
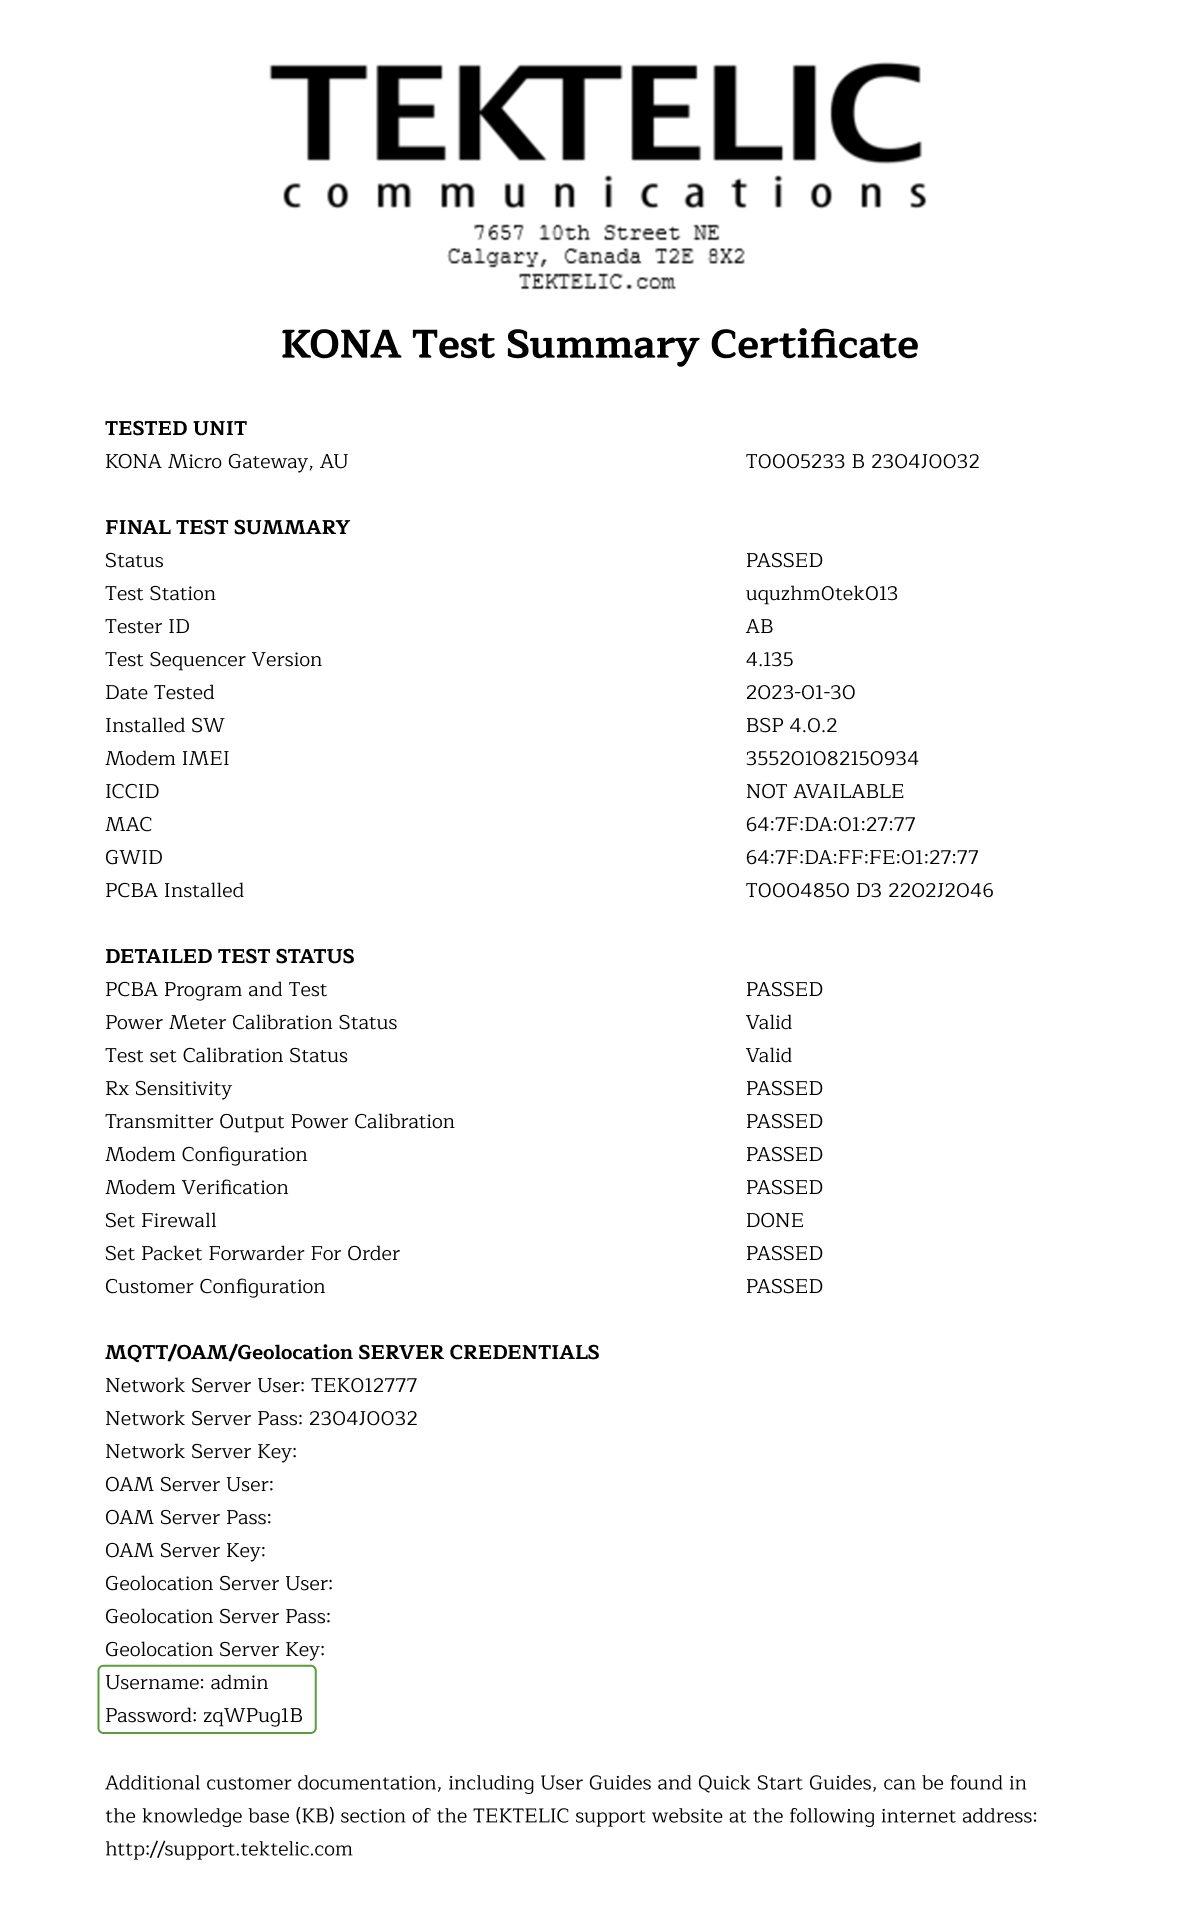
Login as admin. Credentials are on the Test Summary Certificate included in the package.
Example command (Linux/macOS):
ssh GATEWAY_IP -l admin
On Windows, use Putty (https://www.putty.org) or any SSH client.
For Serial Numbers 21 and Below
SSH into the gateway using the IP address.
Login as root. The password is printed on the gateway label.
Example command (Linux/macOS):
ssh GATEWAY_IP -l root
On Windows, use Putty (https://www.putty.org) or any SSH client.
2. Launch the Configuration Tool
For Serial Numbers 22 and Above
Run the following command:
curl -s https://opkg:KT7eqSRwQh47pU3B@repo.yosensi.io/suiteConfigurator.sh | sudo /bin/bash && sudo yosensi-gateway-configurator
Use the same password you used to log into the gateway.

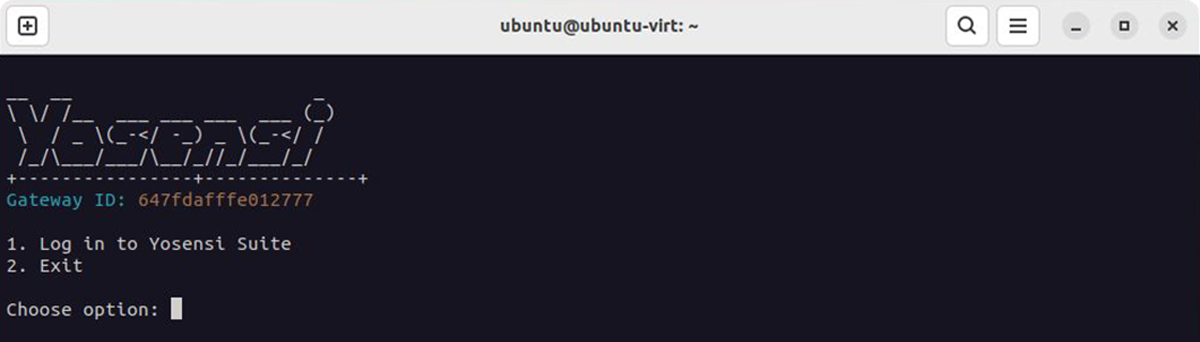
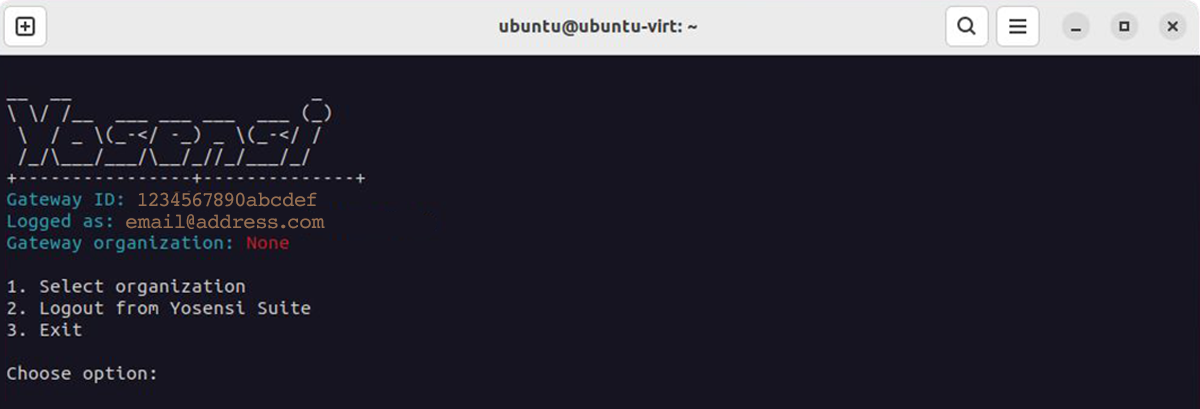
If successful, the configuration interface will appear.
For Serial Numbers 21 and Below
Run the following command:
curl -s https://opkg:KT7eqSRwQh47pU3B@repo.yosensi.io/suiteConfigurator.sh | /bin/bash && yosensi-gateway-configurator
If successful, the configuration interface will appear.
3. Log In to Yosensi Suite
Select [1] Log in to Yosensi Suite.
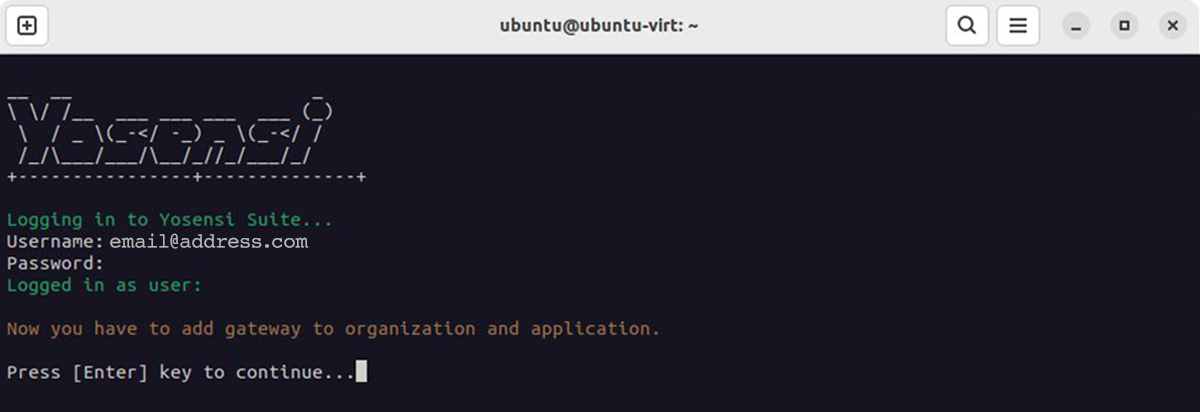
Enter your Yosensi account credentials.
You’ll be prompted to assign the gateway to an organization and application.
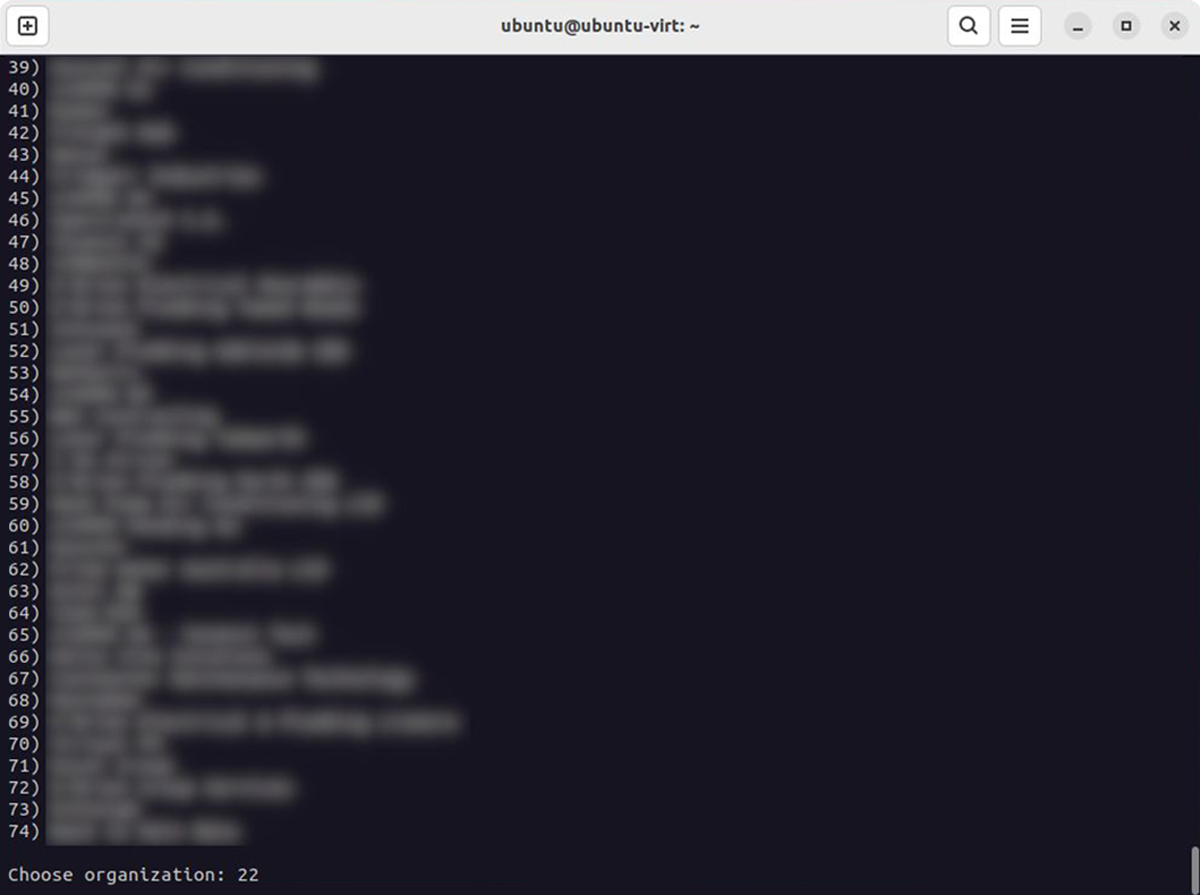
4. Assign to an Organization
Select [1] Select organization
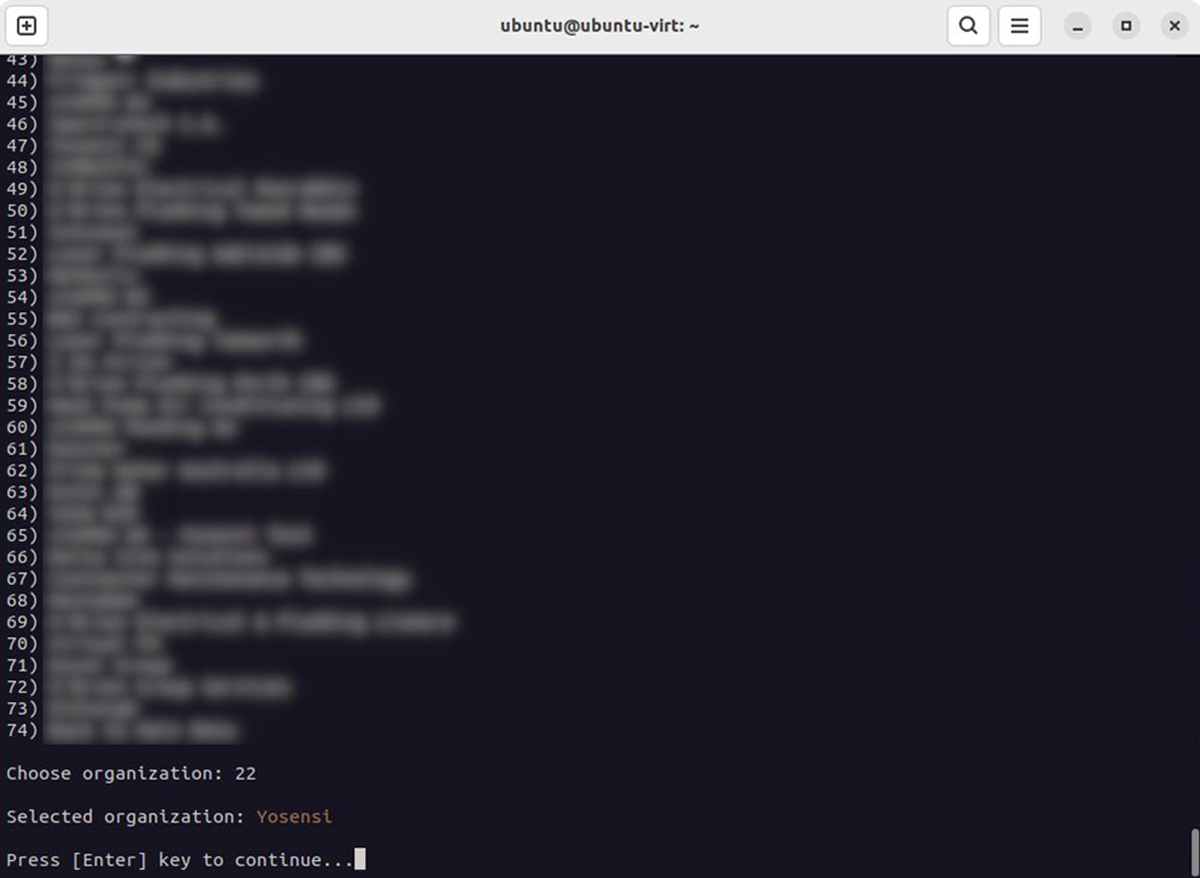
Choose your organization from the list and press Enter.
A confirmation message will appear.
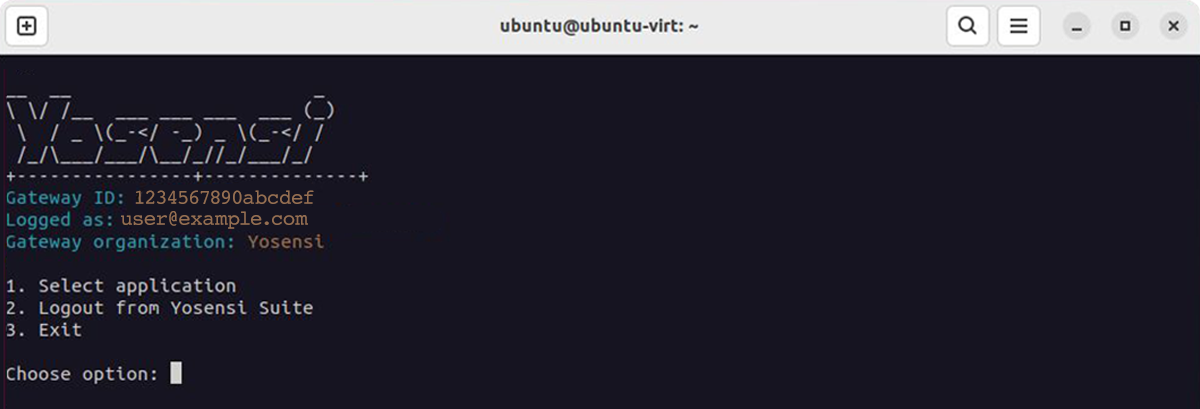
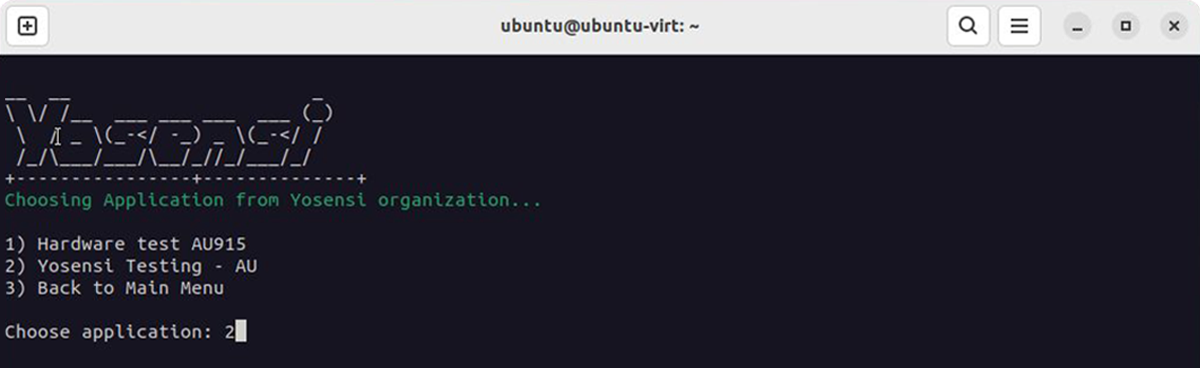
5. Assign to an Application
Select [1] Select application
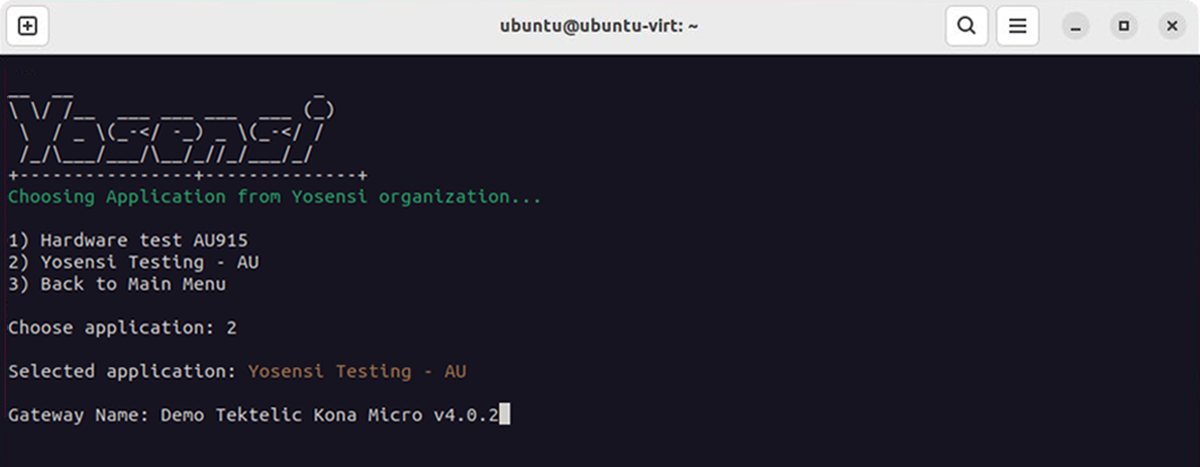
Choose your application from the list and press Enter.
Enter a gateway name to display in the platform and press Enter.
Confirm the details by typing Y and pressing Enter.
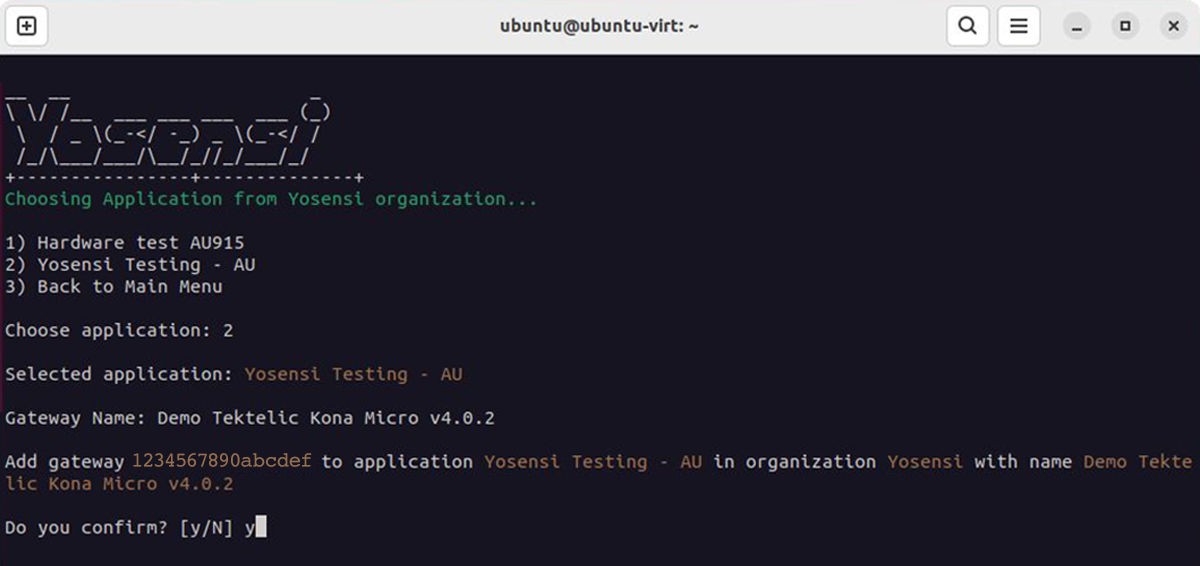
You’ll see a success message once the gateway is added.

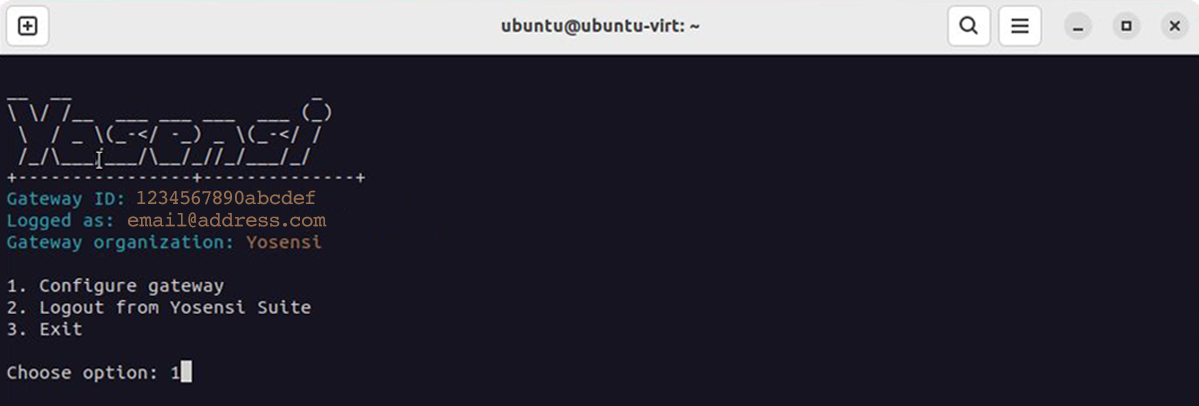
6. Final Configuration
Select [1] Configure gateway.
The script installs required packages and configures the device for Yosensi.
Wait while the process completes.
When prompted, type Y and press Enter to reboot.
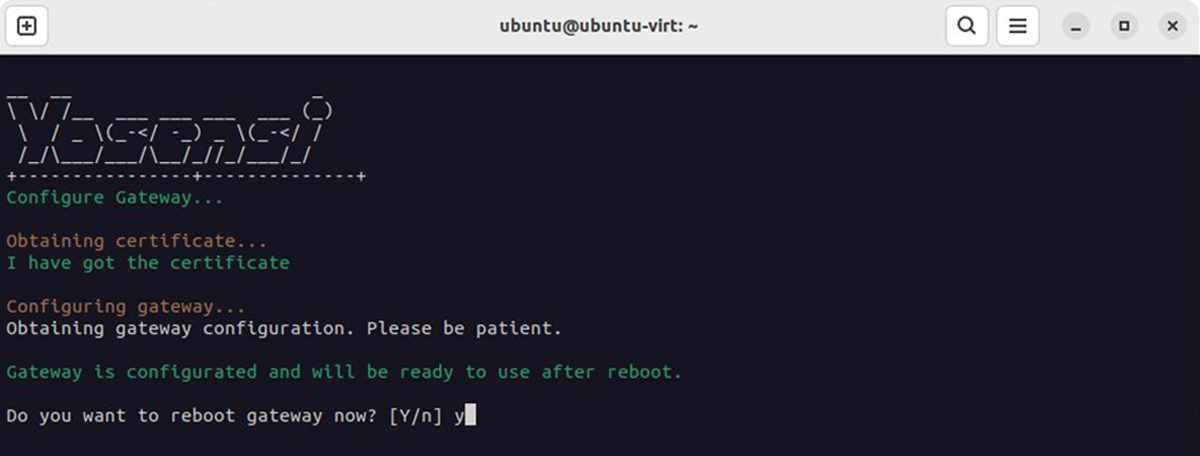
After rebooting, your gateway will be fully configured and connected to the Yosensi Management Platform.
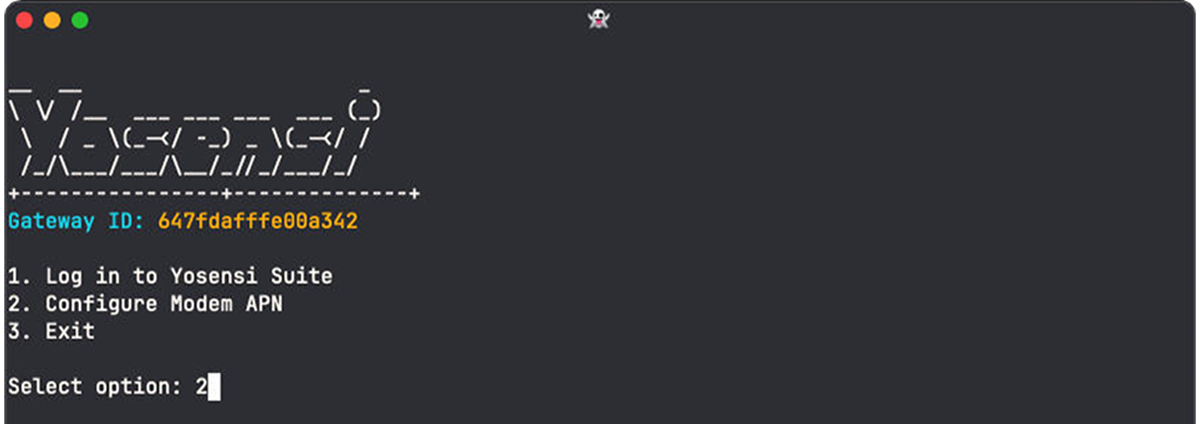
APN Configuration
1. Log in to the gateway console via SSH
Follow the same SSH login steps as described in Step 1 of the configuration guide before continuing.
2. Run the yosensi-gateway-configurator tool
Follow the same SSH login steps as described in Step 2 of the configuration guide before continuing.

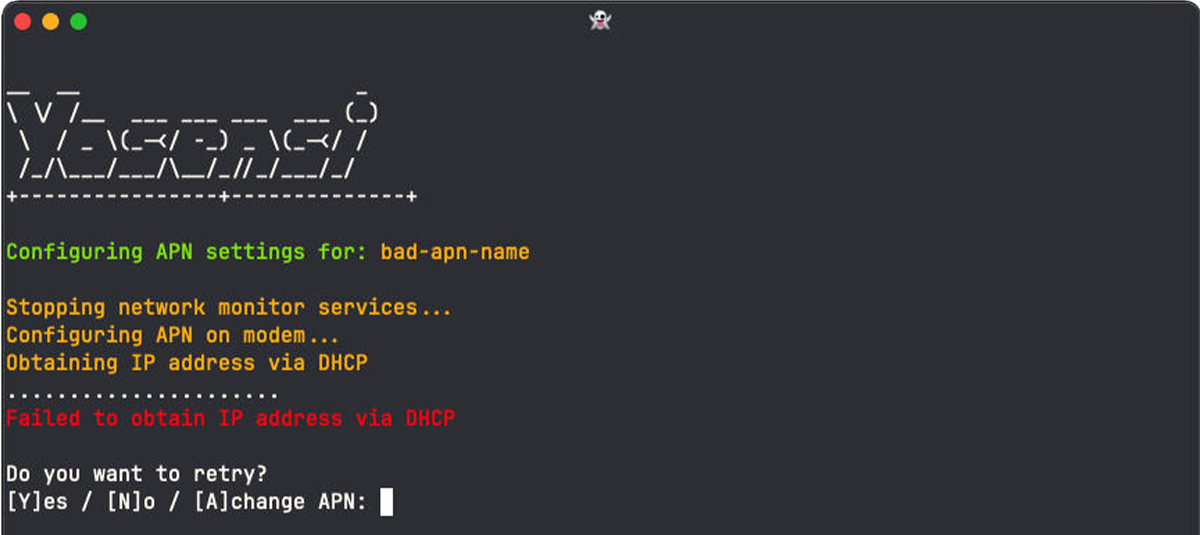
3. Configure APN
Select option [2] Configure Modem APN.
Enter your APN name when prompted and confirm.
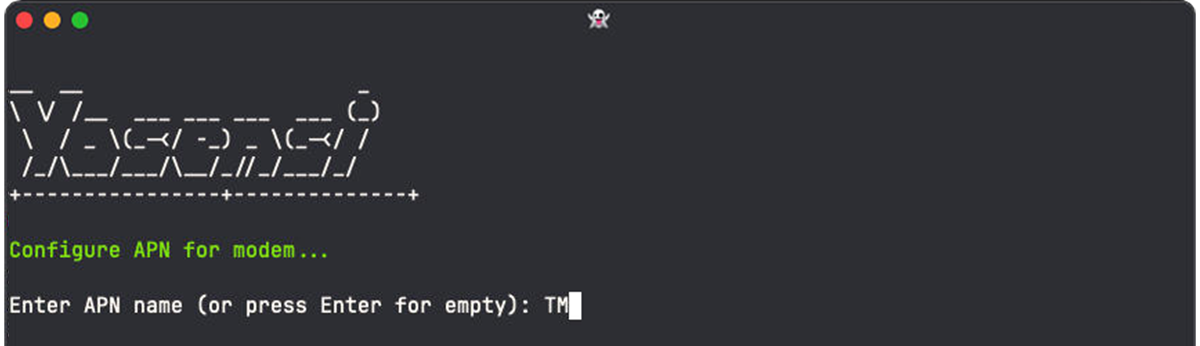
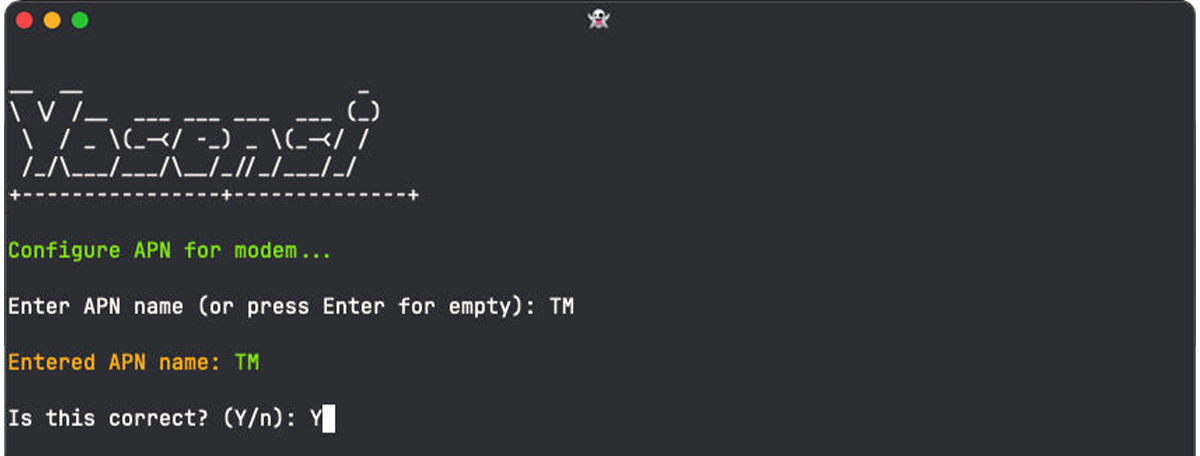
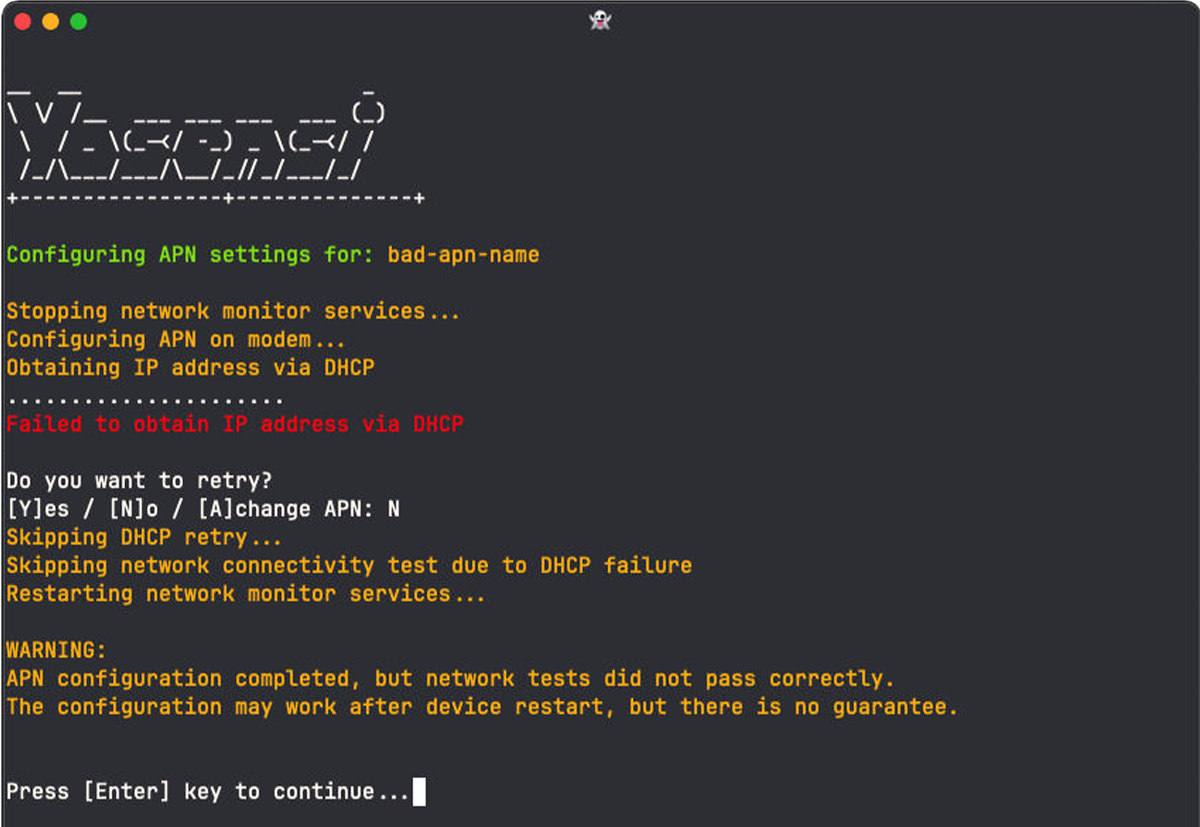
The APN settings will be saved to the modem, and connection tests will start automatically.
If the configuration is successful, a confirmation message will appear.